Introducing React Native
react-native was recently released on github. Yah for open-source! It allows a developer to create iOS apps using React.js components in javascript.
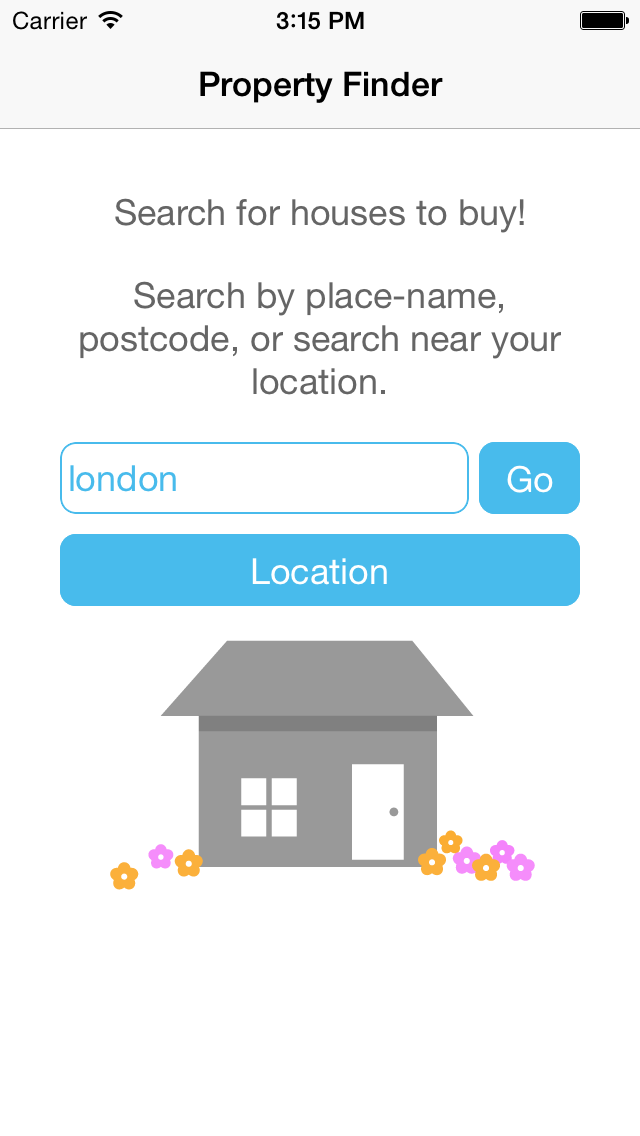
I was able to walk through the tutorial found at raywenderlich.com in about four hours. Many of the mistakes I had made along the way were javascript typos.
Who cares?
React Native bundles your javascript script code and serves it through it through a webserver packager during the development phase. What this means is that you can edit your (javascript) code in your Xcode project, and deploy changes to your app without recompiling/deploying the Objective-C object files. Changes to UI components can be tested quickly in the simulator or on a device on the fly. Runtime errors caused by typos in javascript can be squashed by fixing them and telling the running iOS app simply to reload the updated javascript.
React.js is a HTML view system, and now with react-native, a developer can create “native” apps using the same reusable React components that were used solely in web apps previously.
How can I try this?
You need to be on a Mac with Xcode. My seven-year-old MacBook Pro was running Yosemite 10.10.3 beta with Xcode 6.2. You’ll need to install node and watchman for react-native. You’ll want to use Homebrew. The tutorial mentions this. I used the tutorial and its zipfile to get started, but that was even before I had checked the docs, which also cover this.
Some other gotchas I encountered:
- my react packager would encounter an error and need to be restarted every time I made a local git commit
- I was able to get geolocation to work in the simulator after closing Xcode and the iOS simulator and relaunching everything. It was throwing an error before this.
Where is a copy of the completed code?
I uploaded my code at @idcrook/propertyfinder-introduction-to-react-native on github.